Showing posts with label DIY. Show all posts

Tuesday, February 7, 2017

Valentine FREEBIES! Yes, more than one!!

Valentine's Day is around the corner and I don't know about you, but I feel like it has become worse than Halloween in the terms of sweets and treats.  Several years ago, I informed my student that treats would no longer be allowed.  I encouraged them to make cards and tokens of their affection for each of their classmates.  With food allergies and the need for healthy choices in schools, I am sticking to it.
This year, I am giving my students fortune cookie erasers with these fortunes (you can grab a free copy here).   Oriental Trading also has an awesome assortment of fortune cookies.  From charms to plastic cookies, these novelties make the perfect valentine gift with these tags.
These erasers are super cute and the tags, which I printed on cardstock, can be rolled up to make the message a surprise.
My students and I recently read the book The Biggest Valentine Ever, by Steven Kroll.  It is an adorable story of two boys that realize that working together isn't easy, but it is so worth it.
Together they end up creating the most amazing valentine ever,  a Valentine Mouse for their teacher.

This craftivity pairs perfectly with the book, but can be used without it.  Honestly, is the perfect craft for any day of the year.  I mean, how cute is this mouse.
All of the pieces and directions can be found by clicking on the picture or this link.

What is you favorite Valentine's Day book and craft?  Leave me a comment below to let me know.

Sunday, January 8, 2017

DIY Teacher Mama: Felt Board

Keeping an 18 month old actively engaged without batteries and lights can be an interesting challenge now-a-days.  As an educator, I want to expose my own child to the language I know he needs to be successful.  As a mom, I want to see my little boy having fun and being creative.  Well, you know me, I searched for both and I found it...

Felt Board Fun!  

Plus, I found another awesome use for all of my clipart.

Here is what you need:
To create the board just spray the adhesive on the poster board and cover with felt.
Obviously, you will need a printer and an iron, but that should be a given. 
The fun part is picking out all of the images.  My son LOVES Sesame Street and DinoTrux so I did an image search and found some great ones.  He also loves animals, so I went through my clip art and added some of his favorite animals to the list.  
The most important thing to remember is to reverse the image so that when you iron it on everything is spelled correctly and is facing the right direction.
Once you get all of the images picked out follow the printing directions on the paper and print your heart out.  Then, all you need to do is iron, peal, and play.
My happy boy with his new characters!
I just need to whip up a second board for my classroom.  I am going to use it for story retells and story starters for my reluctant writers.  It will be the perfect tool for my ELLs to practice their speaking standards.

Happy Creating!!!

Sunday, October 23, 2016

One Step Toward Solving The Chatties

I don't know what the deal is, but this year's class is CHATTY!  I am not joking, they love to talk.  It is hard to hold that against them; they are 6 and learning their social register.   But, I needed to curb their chattiness during group lessons, on the carpet.  I love the idea of SitSpots, but I can't justify another big purchase in my classroom.
I tested out a few ideas, and the bulk velcro from JoAnn Fabric and this amazing pen (Amazon link provided) have helped organize the talking a ton.


I used a small piece of the rough side and wrote each student's name on the back of it.  The rough velcro sticks perfectly to my classroom carpet. 
I assigned each kiddo a carpet spot and set the expectation that their back pockets are to remain on the their name spot at all times.  I made sure that each student was sitting next to their reading buddy, thus eliminating Pair Share troubles.  The velcro has made it so convenient to move kiddos around as need be.  


What do you do to help eliminate and organize your chatty kiddos?  

Tuesday, March 22, 2016

Rainy Day Busyness

There is nothing like being cooped up inside with an 8 month old.  Mind you, my 8 month old is a maniac!  He is into, in, and on everything.  One of his favorite games right now is to crawl over to the window, stand up, and pound on the glass. 
This new found game inspired me to create a version of a busy bag.

All you need is...
hair gel,  ziplocks, tape, glitter, and confetti.
I highly recommend using quality ziplocks and double bagging them (baby nails are no joke)!
Once you gather the materials, just add a generous amount of hair gel into the bag with some glitter and confetti.

Seal up the bag and tape it to a window or the floor.

Obviously, your child should be under adult supervision at all times while playing with this busy bag.

Little man loved squishing the confetti around!
And making faces at me while I tried to snap some pictures.
What have you created to keep your little one busy on a rainy day?

Friday, July 18, 2014

Five For Friday Fun!

This whole not working during summer break thing is great, except I have no idea where my days disappear to.  I actually stopped by work this week.  It was so nice to say hi to everyone and miss the place a bit.  Aside from a quick stop by work, it was a fun and busy week.  Check it out...

1. So my garden has EXPLODED with amazing food.  I am loving all of it except I have no idea what to do with all of the zucchini I have.  I need to find a good GF zucchini bread recipe.


2. My Junie B. Fan Pack arrived!  I can't get over the fact that they sent a book.  Now, I have to wait for the monthly newsletters, which I am so excited for!!!


3. I made book beads!!!  I have been wanting to try this for so long!  It was so fun picking through old books and magazines.  I think the Lakeshore Beads are my favorite.  That catalogue had tons of colors that popped out in the beads.
Check out my post here.

4. The Oregon lavender fields are in full bloom.  This is the greatest time of year to go, explore, and cut your own lavender.  I am in love with this White Spike lavender.

5. My Blogiversary has been going on this week!  The amount or love and support you all have shown is incredible.  
If you haven't stopped over and entered the giveaways be sure to do so soon.  The celebration will come to an end this weekend.

Be sure to head over to DoodleBugs Teaching to check out more Five For Friday Fun!

Happy Friday!!!!

Thursday, July 17, 2014

Summer Crafts - Book Beads

If you saw my Instagram post this past weekend you know that I am SOOOOO excited about this project!  Let's not waste any time....

BOOK BEADS

I was a little taken aback at how easy there were to make, but after seeing Tara's post and ideas all over Pinterest I had to give them a try.

Supplies: scissors, ModPodge, a pencil, metal dowel, a ruler, paintbrush, and paper (I used pages from a book and teacher catalogues)

Use a ruler to draw 1/2 inch wide columns on the paper that you will be using.
Once you have the columns, draw a diagonal line in each column, this is what you will be cutting on.
Cut along the diagonal to get pieces that resemble the above picture.
Dab a bit of ModPodge onto the inside of a piece of cut paper.  Then, place the dowel below the space with ModPodge, similar to what you see above.
Begin rolling the paper wide end to skinny end.  Apply a dab of ModPodge at the end and gently pull the bead off of the dowel.
Place the beads on wax paper to dry.

Once the beads have dried string them onto the jewelry material of your choice.  I used an elastic thread.  
I love how colorful the teacher catalogue beads turned out.  They look so great next to the chapter book beads.  
I plan on teaching our Green Team how to make these adorable beads out of recycled paper from around the school.

Happy Creating!!!

Don't forget to enter....

Monday, July 14, 2014

Monday Made It - ModPodge Style

Hi, my name is Marcy.  I am a teacher, moose fanatic, and LOVER of MODPODGE!  Yes, you read that correctly, I LOVE ModPodge!  I don't know what it is about the stuff, but it can transform anything into a masterpiece.  Just look at today's Monday Made It.
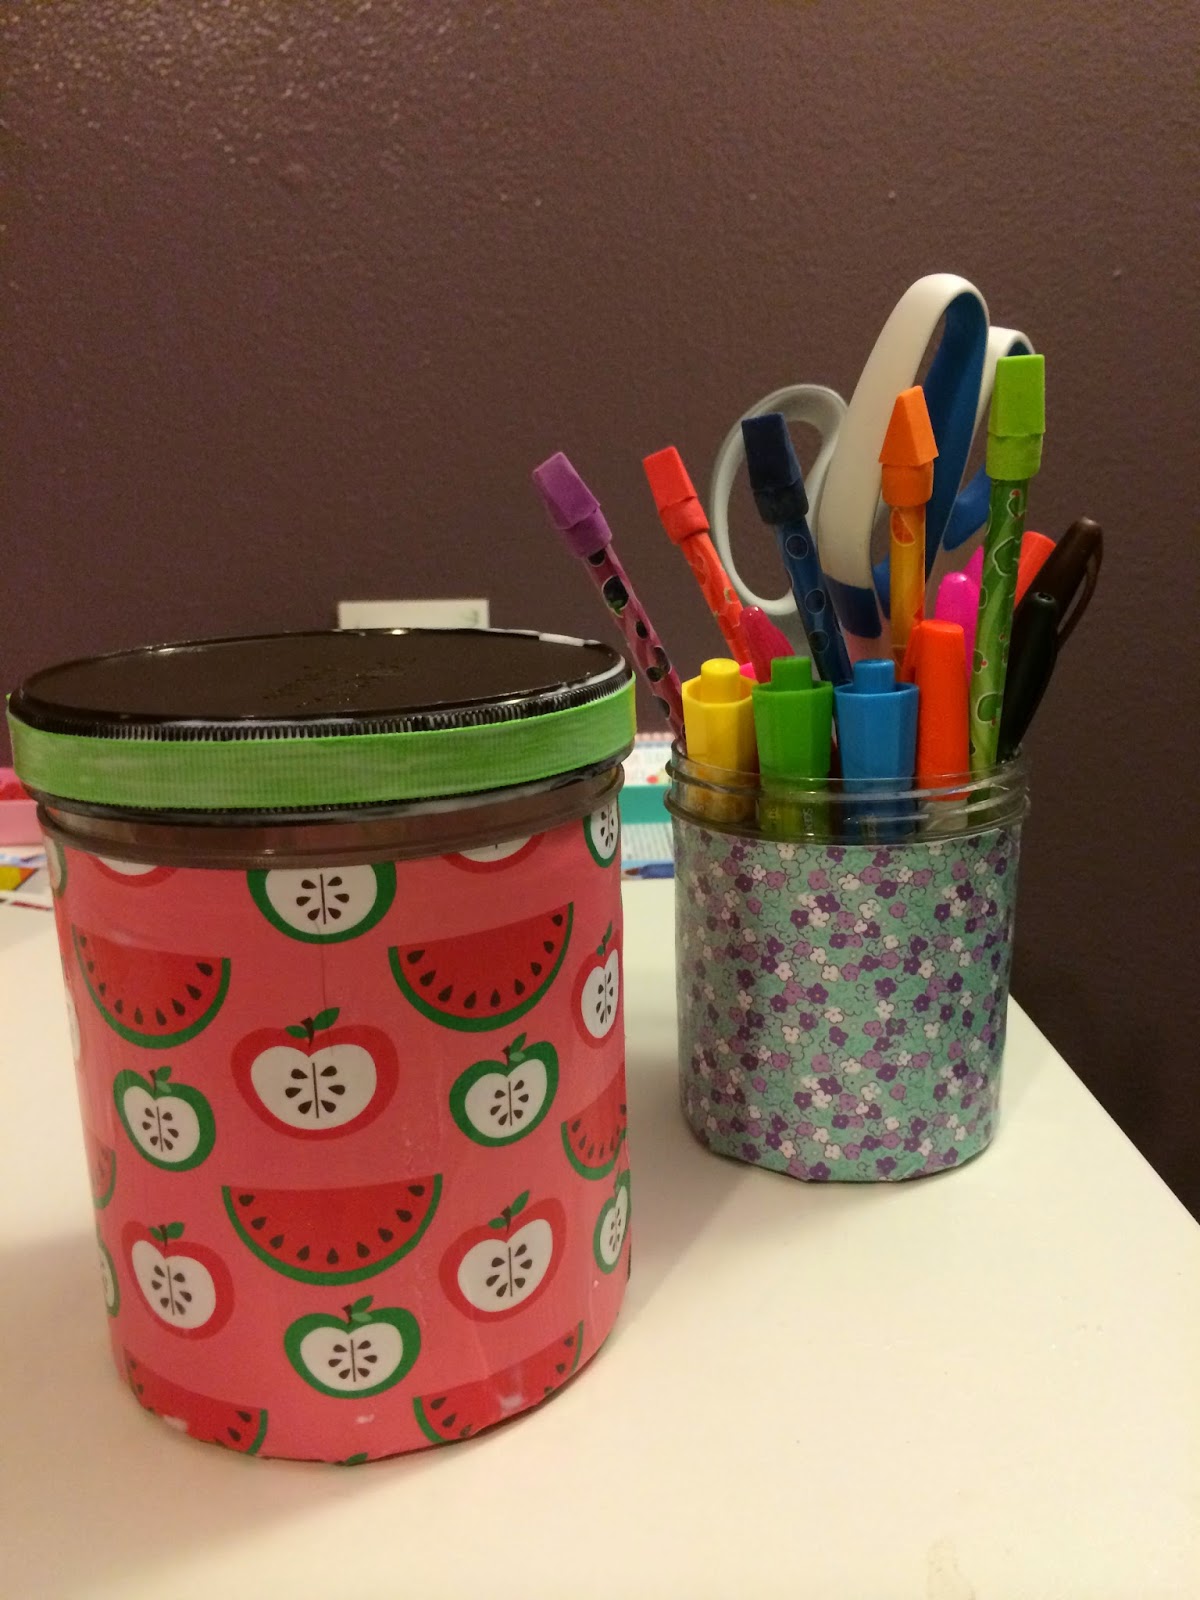
I having been holding on to these awesome Talenti gelato containers just waiting to craft with them.  By the way, if you are not familiar with Talenti gelato head to the store NOW and get some; not only are they gluten free (a must for me), but they are AMAZING!!
I decided to beautify these containers and use them for classroom manipulatives and supplies.
I used scrapbook paper, ModPodge, a paintbrush, and scissors for this project.
Once I measured out the paper, I coated the container with ModPodge.  An important trick is to make sure that each layer is thin.  If you use too much ModPodge is creates bubbles and no one wants bubbles.
When ever you are covering a round object, it helps to cut slits at the bottom of your covering.  It allows for easier wrapping.


I love the way they turned out!


I can't wait to make more and fill them with manipulatives.  I looks like my next project is going to be cute labels for them.

Happy Creating!!!

Don't forget to enter...